Managing email communication across departments is a common responsibility for Microsoft 365 administrators. In many organizations, administrators need to send emails to groups of users based on attributes like department, location, or job role.
However, maintaining traditional distribution lists can become difficult as employees join, leave, or change departments. This is where Dynamic Distribution Lists in Microsoft 365 become extremely useful.
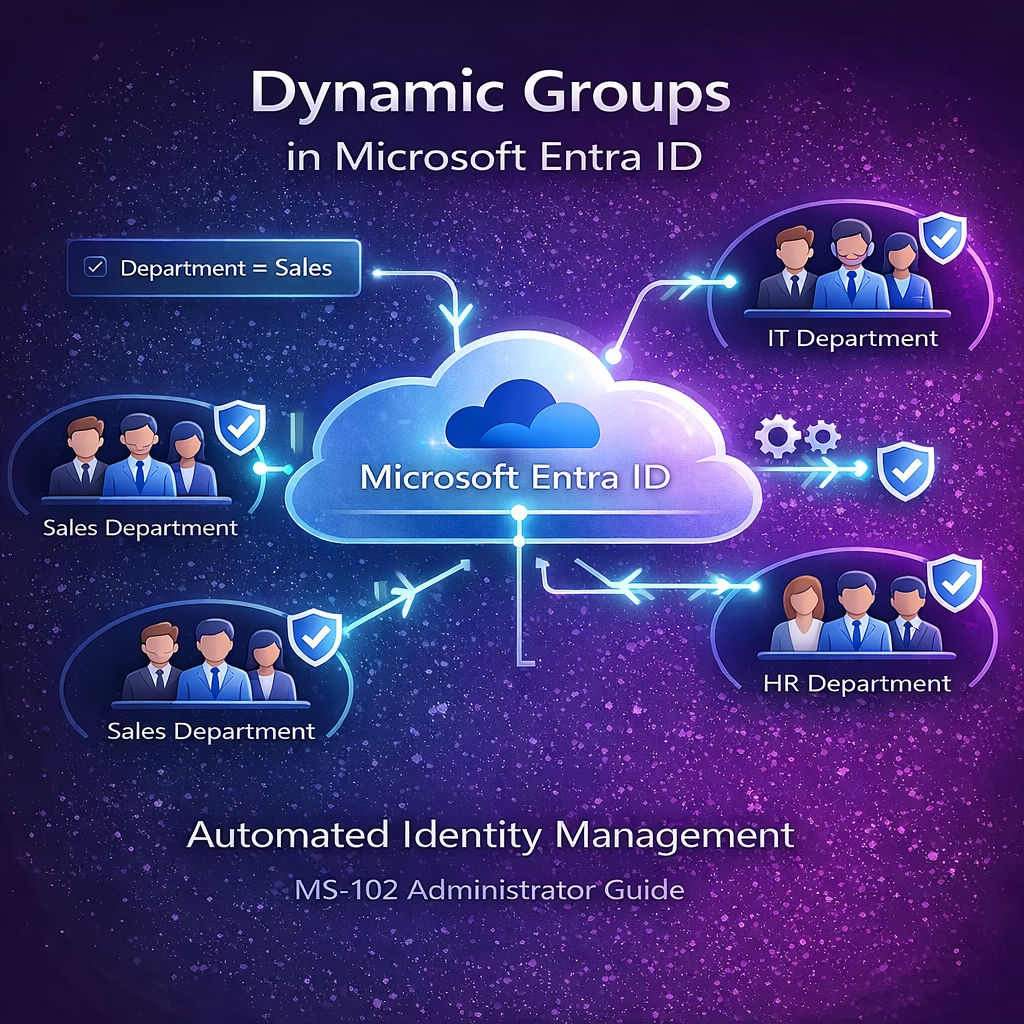
A Dynamic Distribution List (DDL) automatically updates its membership based on rules and user attributes stored in Microsoft Entra ID. Instead of manually adding members, Exchange Online evaluates conditions and dynamically determines who should receive emails.
This makes dynamic distribution lists a powerful tool for automated communication management in Microsoft 365 environments.
In this guide, we will explore what dynamic distribution lists are, how they work, and how to create them step-by-step using the Exchange Admin Center.
What Are Dynamic Distribution Lists in Microsoft 365?
A Dynamic Distribution List is an Exchange Online group that automatically includes recipients based on filters such as:
- Department
- Company
- Job title
- Office location
- Recipient type
Unlike traditional distribution groups, members are not manually added. Instead, Exchange automatically determines group membership based on the rules you configure.
For example, a dynamic distribution list can automatically include:
- All users in the Sales department
- All employees in a specific office
- All users with a certain job title
When an email is sent to the dynamic group, Exchange evaluates the filters and sends the message to the matching recipients.
This makes dynamic distribution lists extremely useful for large organizations where user attributes frequently change.
| Feature | Traditional Distribution List | Dynamic Distribution Group |
|---|---|---|
| Membership | Manual | Automatic |
| Maintenance | High | Low |
| Updates | Admin required | Auto-updated |
| Scalability | Limited | Very scalable |
Why Dynamic Distribution Lists Are Important
Dynamic distribution lists provide several administrative benefits.
Learning Objectives
After completing this guide, you will be able to:
- Explain the purpose of Dynamic Distribution Lists.
- Describe how membership is automatically determined by attributes.
- Identify scenarios where dynamic lists are preferable to static lists.
- Configure a Dynamic Distribution List in Microsoft 365.
Automatic membership updates
Members are automatically included or excluded when user attributes change.
Reduced administrative overhead
Administrators do not need to manually maintain group membership.
Scalable communication management
Dynamic Distribution Lists in Microsoft 365 work well in environments with hundreds or thousands of users.
Attribute-based communication
Emails can be targeted based on department, location, or role.
For Microsoft 365 administrators preparing for the MS-102 certification, understanding dynamic distribution lists is important because they are part of Exchange Online recipient management.
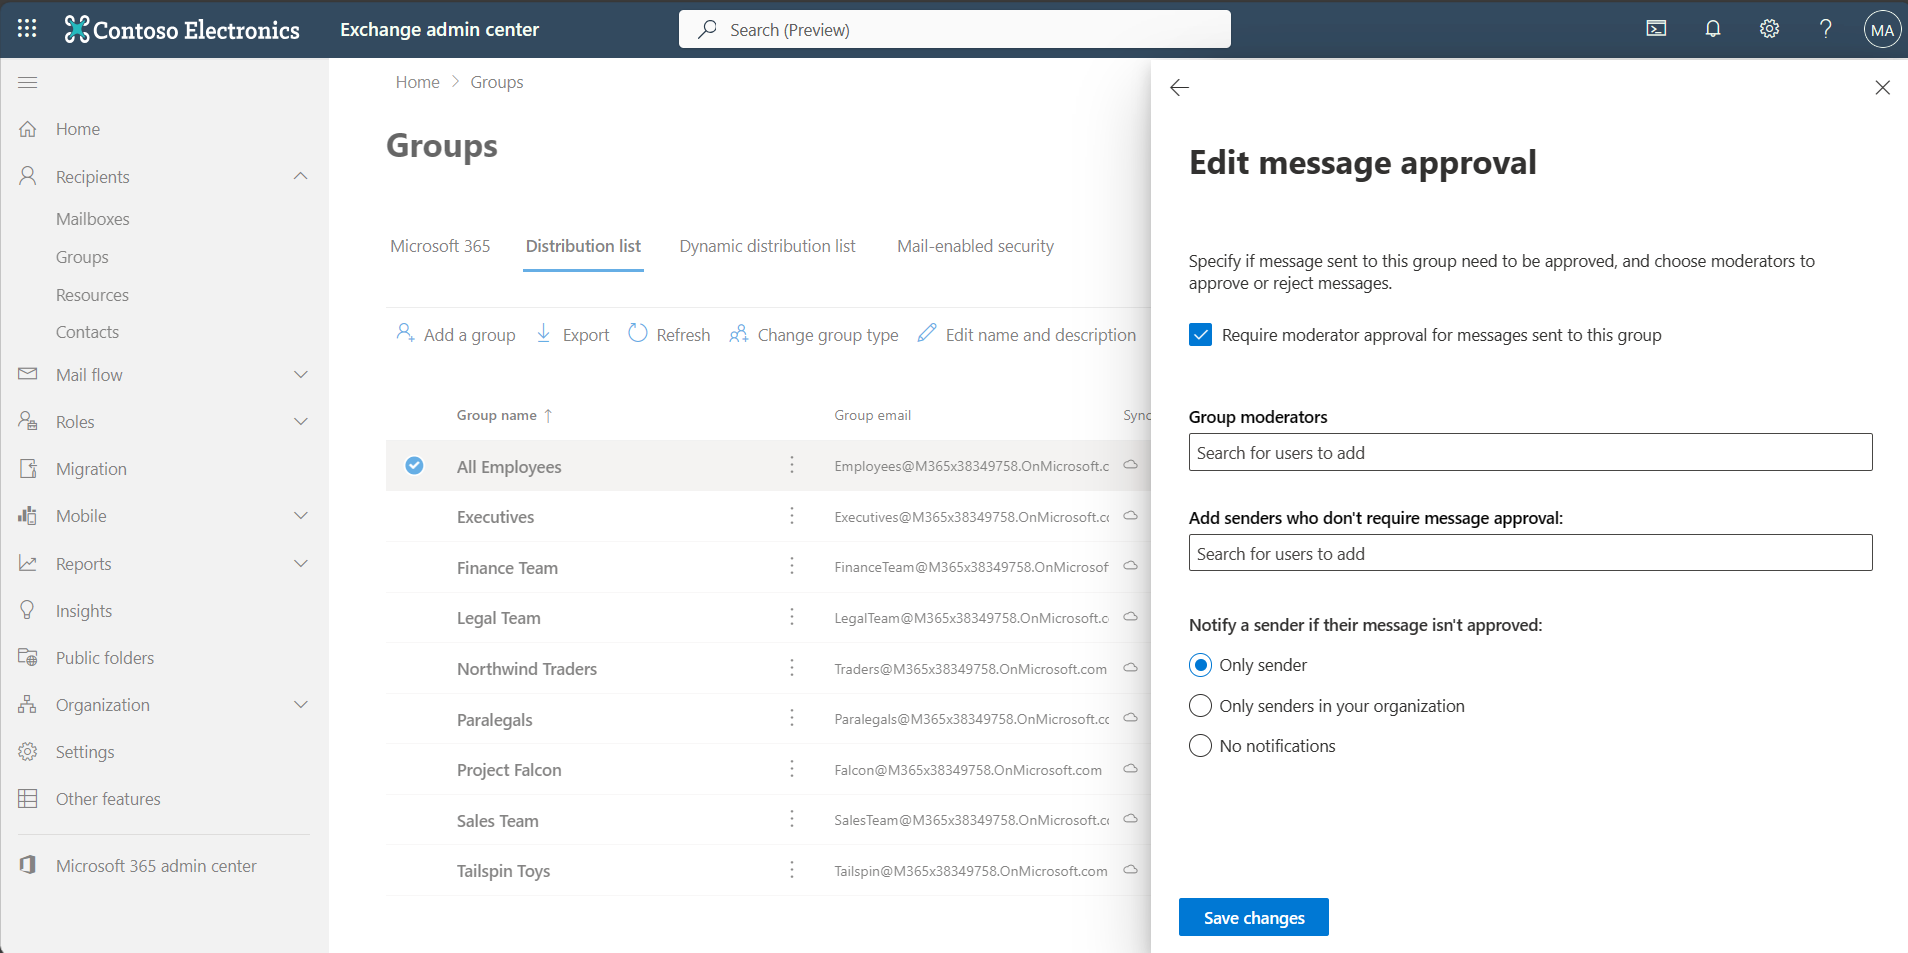
Where to Create Dynamic Distribution Lists
Dynamic distribution lists are created in the Exchange Admin Center.
Navigation path:
Exchange Admin Center → Recipients → Groups
From there, administrators can create different types of groups such as:
- Microsoft 365 groups
- Distribution lists
- Mail-enabled security groups
- Dynamic distribution lists
Step-by-Step: Creating a Dynamic Distribution List in Microsoft 365
Let’s walk through the complete process.
Step 1: Open Exchange Admin Center
First, sign in to the Microsoft 365 Admin Center and open the Exchange Admin Center.
Navigate to:
Recipients → Groups
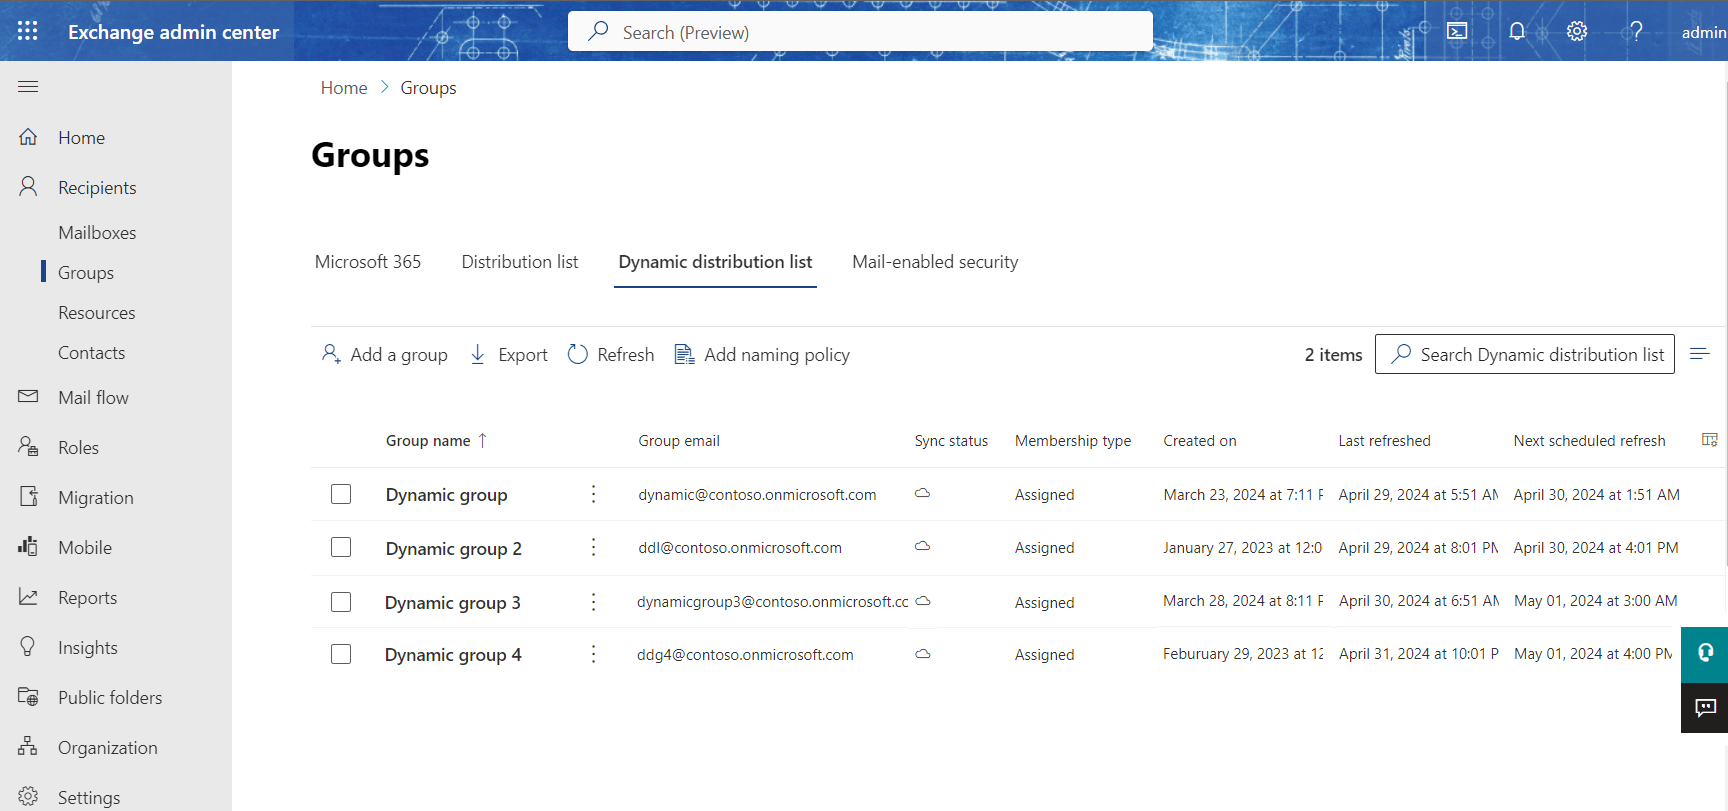
Then select the Dynamic distribution list tab.

4
This section allows administrators to manage existing groups or create new Dynamic Distribution Lists in Microsoft 365
Step 2: Create a New Group
Click Add a group to begin creating a new group.
You will be prompted to choose the group type.

4
Select:
Dynamic distribution
Then click Next.
This option allows Exchange to automatically determine group membership based on conditions.
Step 3: Configure Group Basics
Next, you must configure basic group information.
4
Enter the following information:
Group Name
Example:
Sales_Group
Description
Example:
Group used to send and receive emails from the Sales Department.
Clear naming conventions are recommended to help administrators identify group purpose easily.
Click Next to continue.
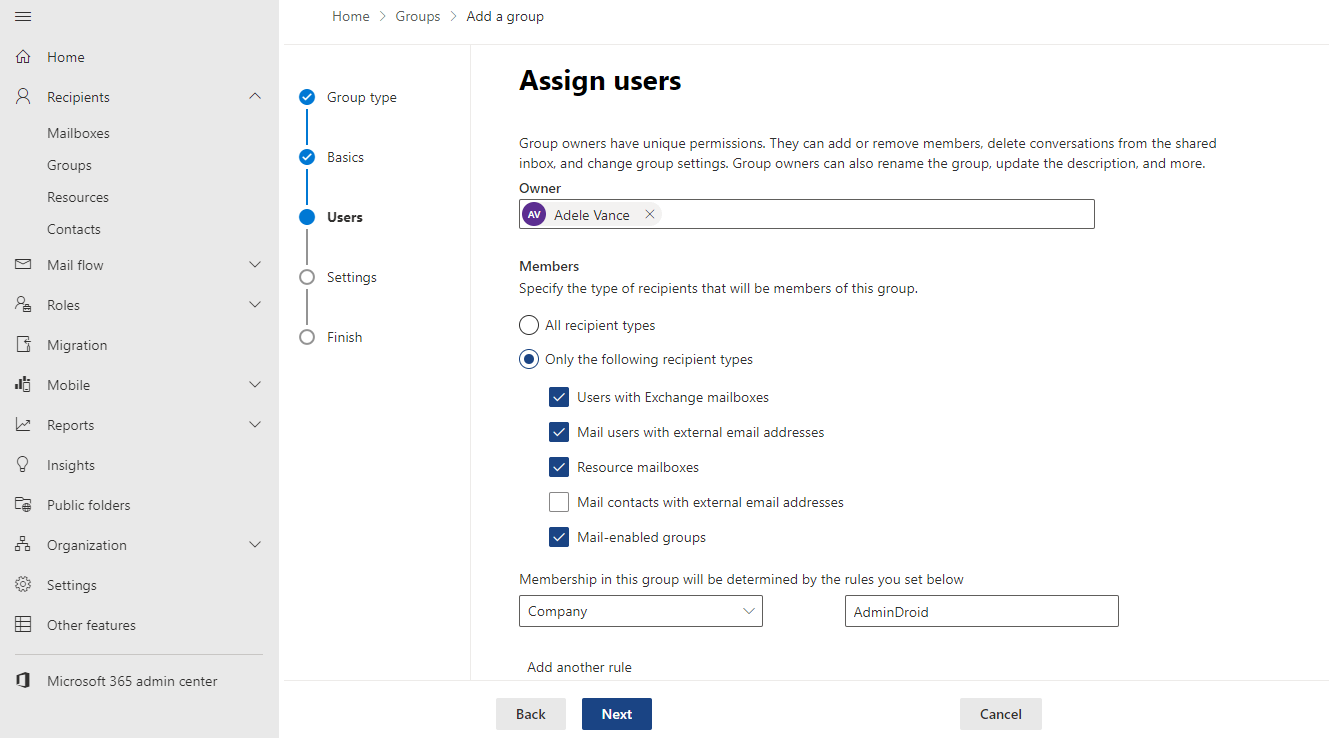
Step 4: Configure Membership Rules
Now you must define the rules that determine group membership.
In this example, we configure the rule:
Department = Sales
This means the dynamic distribution list will automatically include all users whose department attribute is set to Sales.
You can also add additional filters such as:
- Company
- State
- Recipient type
- Custom attributes
Click Next to continue.
Step 5: Configure Group Email Address
Next, configure the email address used by the group.

4
Enter the following:
Group email address
Example:
Select the appropriate domain for the group.
Click Next.
Step 6: Review and Create the Group
Before the group is created, Exchange displays a summary of the configuration.
4
Verify the following:
- Group type
- Group name
- Membership rules
- Email address
If everything looks correct, click Create group.
Step 7: Verify the Dynamic Distribution List
After the group is created, it will appear in the Dynamic Distribution List section.
You can now see details such as:
- Group name
- Email address
- Creation date
- Last refresh time
Exchange automatically evaluates membership rules periodically and updates recipients accordingly.
How Dynamic Distribution Lists Work
Unlike static distribution lists, Dynamic Distribution Lists in Microsoft 365 do not store member lists.
Instead, Exchange performs the following steps when an email is sent:
- Evaluate the configured filters
- Query Microsoft Entra ID attributes
- Identify matching recipients
- Deliver the message to those users
Because membership is calculated dynamically, administrators do not need to manually manage users.
Best Practices for Dynamic Distribution Lists
Administrators should follow these best practices when using Dynamic Distribution Lists in Microsoft 365
Maintain accurate user attributes
Dynamic Distribution Lists in Microsoft 365 rely on attributes like department and job title, so these values must remain accurate.
Use clear naming conventions
Group names should clearly indicate their purpose.
Example:
Sales_Email_Group
HR_Announcements_Group
Avoid overly complex filters
Simple rules improve reliability and reduce troubleshooting complexity.
Regularly review group configuration
Ensure filters still reflect the current organizational structure.
MS-102 Exam Relevance
Dynamic distribution lists are part of the Exchange Online administration domain in the MS-102 certification.
Candidates should understand:
- Different group types in Microsoft 365
- When to use distribution groups vs Dynamic Distribution Lists in Microsoft 365
- How Exchange evaluates membership rules
- Administrative use cases for automated email communication
Understanding dynamic distribution lists helps administrators manage large organizations efficiently.
Final Insights
Dynamic Distribution Lists in Microsoft 365 provide an efficient way to automate communication across departments and teams. Instead of manually managing distribution groups, administrators can rely on attribute-based rules that automatically determine recipients.
For Microsoft 365 administrators, mastering Dynamic Distribution Lists in Microsoft 365 improves scalability, reduces administrative workload, and ensures that communications always reach the correct audience
If you are preparing for the MS-102 Microsoft 365 Administrator certification, understanding how to configure and manage dynamic distribution lists is an important skill.
If you’re new to this learning series, start with the main MS-102 Microsoft 365 Administrator overview, where we explain how all chapters connect and what skills you’ll build across the journey.
For the most accurate and up-to-date exam objectives and reference material, Microsoft maintains the official MS-102 documentation on Microsoft Learn. This series complements those resources by focusing on real-world administrative understanding.