Microsoft 365 Domain Management is one of the most important configuration responsibilities in any tenant. Before identity policies, security controls, or collaboration settings can function properly, your organization’s domain must be correctly configured.
For anyone preparing for the MS-102 Microsoft 365 Administrator exam, understanding domain management is not optional. It is foundational.
In this guide, we’ll walk through:
- What a domain is in Microsoft 365
- Where domain settings are managed
- How to add and verify a domain (step-by-step)
- How DNS records work with Microsoft 365
- How to test mail flow
- Common DNS mistakes
- Why this topic matters for the MS-102 exam
Why Microsoft 365 Domain Management Matters for MS-102?
A domain in Microsoft 365 Domain Management represents your organization’s public identity.
When you first create a tenant, Microsoft assigns a default domain:
yourtenantname.onmicrosoft.com
This default domain is functional and permanent. However, most organizations add a custom domain, such as:
yourcompany.com
That custom domain becomes:
- Your users’ primary email address
- Your SharePoint and Teams identity namespace
- Your organization’s external presence
Without proper domain configuration, Microsoft 365 services cannot operate correctly.
Where to Manage Domains in Microsoft 365
Domain management is performed inside:
Microsoft 365 Admin Center → Settings → Domains
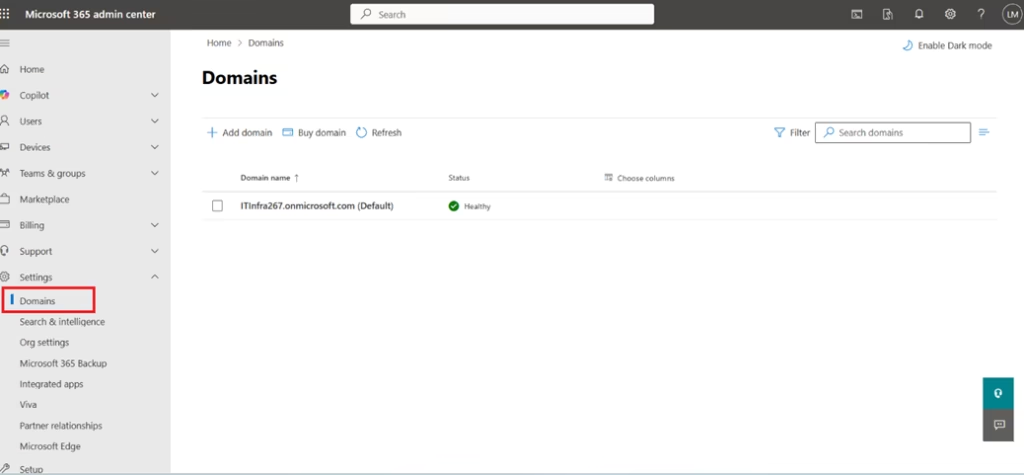
Here you can:
- View existing domains
- Add new domains
- Check verification status
- Review DNS configuration requirements
- Set default domain
This is part of Deploy and Manage a Microsoft 365 Tenant (Domain 1 of MS-102).
Understanding Domain Status
When managing domains, you’ll see different status indicators:
1. Verified
The domain ownership has been confirmed using DNS.
2. Setup in Progress
DNS records are partially configured.
3. Unverified
Microsoft has not confirmed domain ownership yet.
Understanding these statuses is important for troubleshooting tenant-level issues.
Step-by-Step: How to Add a New Domain in Microsoft 365
This is a core administrative task.
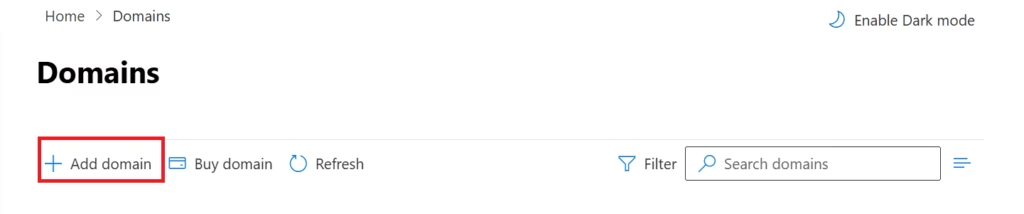
Step 1: Go to the Domains Section
- Log in to Microsoft 365 Admin Center
- Navigate to Settings → Domains
- Click Add Domain
Step 2: Enter Your Domain Name
Enter your custom domain:
yourcompany.com
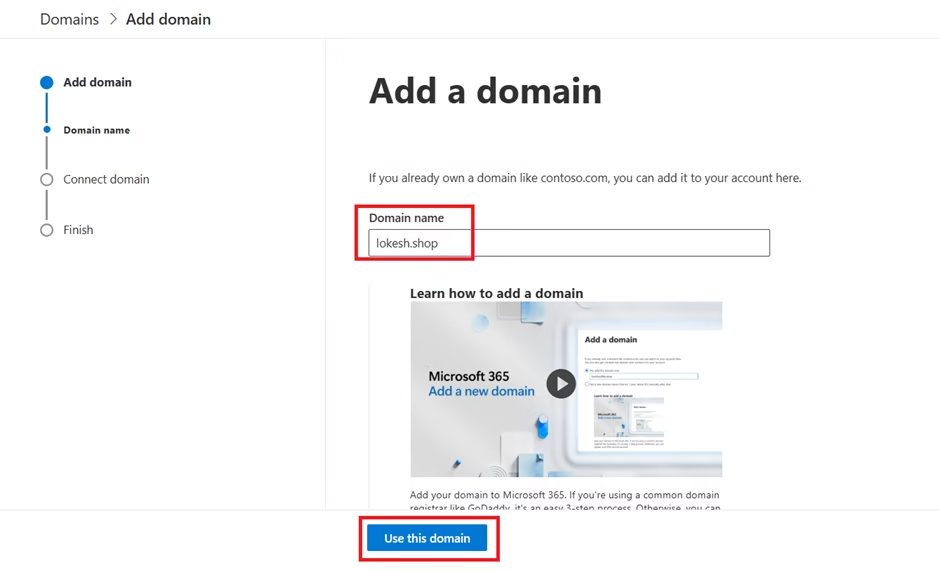
Click Use this domain.
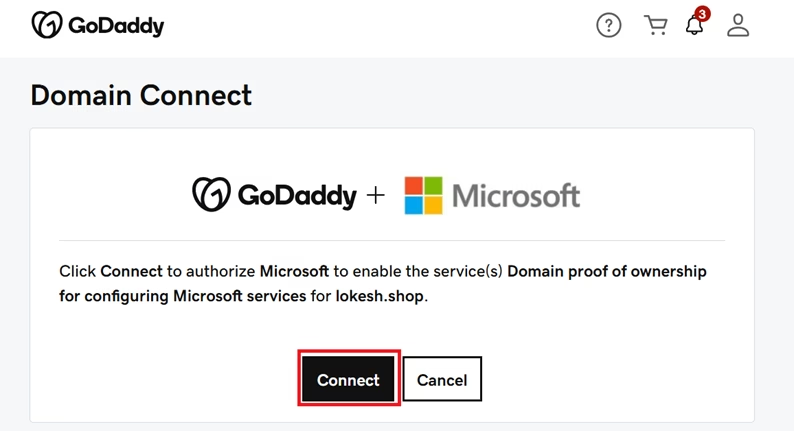
Step 3: Verify Domain Ownership (Critical Step)
Microsoft must confirm that you own the domain.
It will generate a TXT record, similar to:
MS=ms12345678
You must:

- Go to your DNS provider (GoDaddy, Namecheap, Cloudflare, etc.)
- Add a new TXT record
- Paste the value provided by Microsoft
- Save changes
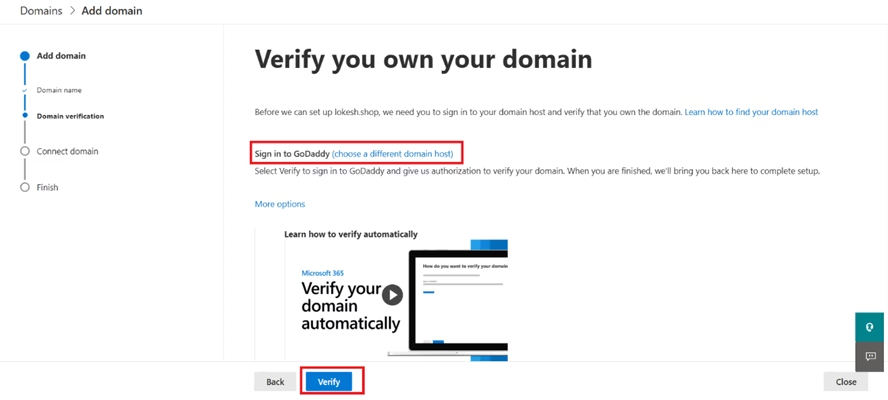
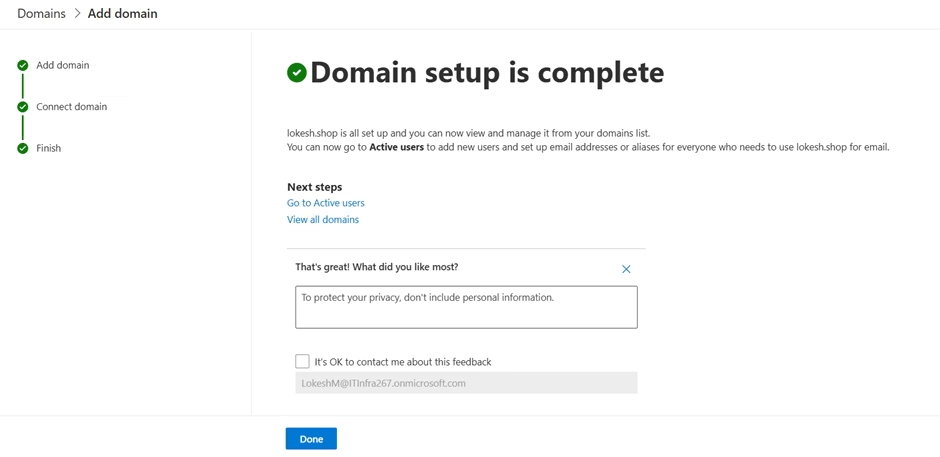
After propagation (usually 5–30 minutes), return to Admin Center and click Verify.
Once verified, the domain becomes active.
Configuring DNS Records for Microsoft 365 Services
After verification, you must configure DNS records for service functionality.
These include:
MX Record (Mail Flow)
Directs incoming mail to Exchange Online.
Example:
yourcompany-com.mail.protection.outlook.com
Without this record, email will not be delivered.
TXT Record (SPF)
Used for email authentication and spam prevention.
Example:
v=spf1 include:spf.protection.outlook.com -all
Improper SPF configuration can cause emails to land in spam.
CNAME Records
Used for:
- Autodiscover (Outlook configuration)
- Teams
- Device management
SRV Records
Used primarily for:
- Skype for Business (legacy)
- Teams integration in certain environments
Setting a Default Domain
After adding your domain, you may want to make it the default.
Go to:
Settings → Domains → Select domain → Set as default
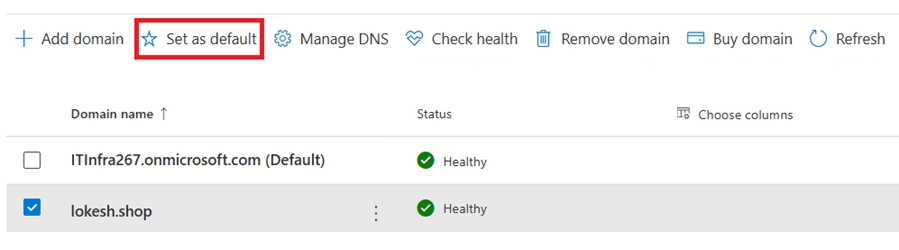
This ensures:
- New users receive email addresses with your custom domain
- Admin-created objects follow your organization’s naming standard
Updating User Email Addresses
After adding a custom domain, you may need to update existing users.
Navigate to:
Users → Active Users → Select User → Manage Username and Email
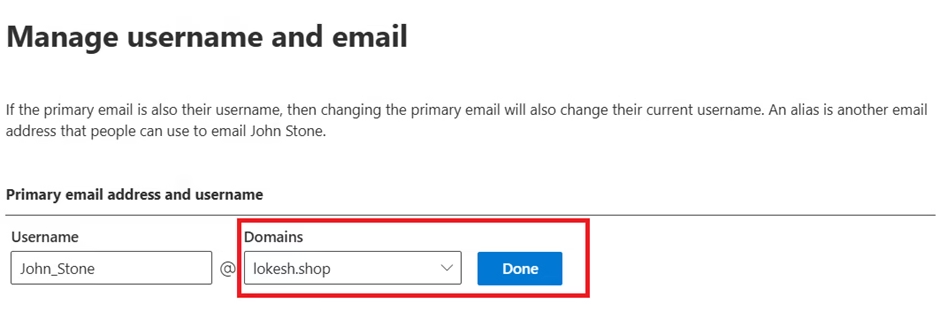
You can:
- Change primary email address
- Add alias addresses
- Standardize email format
Bulk updates can be performed via:
- CSV import
- PowerShell
This is frequently referenced in real-world scenarios and exam questions.
Testing Domain and Mail Flow
After DNS configuration, always validate functionality.

Test Mail Flow
- Send an external email to a user
- Confirm receipt in Outlook or OWA
- Verify no delivery delay
Use Message Trace
Exchange Admin Center → Mail Flow → Message Trace
This helps troubleshoot:
- Mail delays
- Rejected messages
- SPF or DKIM failures
Common DNS Mistakes
New administrators often encounter:
- Incorrect MX priority
- Multiple conflicting SPF records
- Failure to remove old mail provider records
- DNS propagation impatience
- Typographical errors in TXT values
These errors can cause:
- Mail delivery failure
- Spam classification
- Verification failure
Always double-check DNS syntax carefully.
Why Domain Management Matters for MS-102
Domain management is tested under:
Deploy and Configure a Microsoft 365 Tenant
Exam questions may present scenarios such as:
- Email not delivering after migration
- Domain verification failure
- Changing default domain for new hires
- Mail flow disruption
- DNS misconfiguration
Understanding how domains interact with:
- Exchange Online
- Identity namespace
- Authentication
- Licensing
- Hybrid environments
is essential for success.
Final Insights
Domain management is where Microsoft 365 administration begins to feel real.
A tenant without proper domain configuration is incomplete. Every email sent, every Teams meeting scheduled, and every SharePoint site created ultimately depends on correct DNS and domain settings.
When you understand how domains work in Microsoft 365, you stop thinking like a beginner navigating menus and start thinking like an administrator responsible for service continuity.
Mastering Microsoft 365 domain management strengthens:
- Your technical confidence
- Your troubleshooting capability
- Your readiness for the MS-102 Microsoft 365 Administrator exam
If you’re new to this learning series, start with the main MS-102 Microsoft 365 Administrator overview, where we explain how all chapters connect and what skills you’ll build across the journey.
For the most accurate and up-to-date exam objectives and reference material, Microsoft maintains the official MS-102 documentation on Microsoft Learn. This series complements those resources by focusing on real-world administrative understanding.
What’s Next
Now that you understand where services are managed, the next logical step is to move into deeper configuration areas.
In the upcoming chapter, we will begin working with:
- Licensing models
- Administrative roles
Each of these builds directly on the administrative architecture you just explored.
You are now moving from exploration to structured administration
I